One of the shoddier parts of my superb Classic Army DSA SA58 replica was the cocking handle. It was a cheap nylon/plastic affair held on with a screw, so I wasn't all that surprised when - on my third time out with it - the screw worked loose and the handle fell off and was lost!
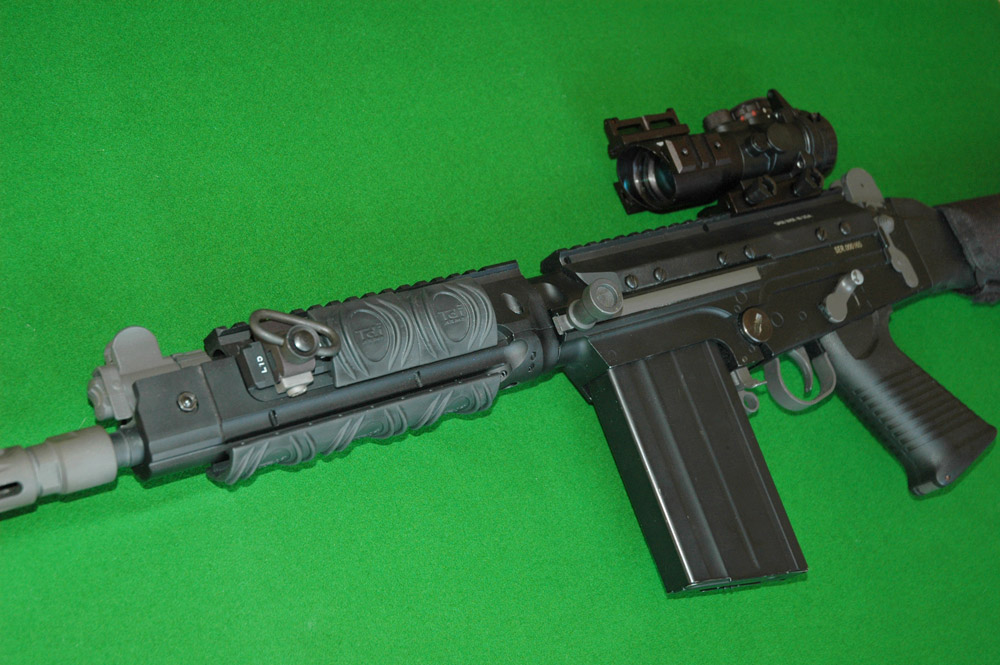
 Above: Here you can see the vacant cocking post on my Classic Army DSA SA58 replica. Below it are the items I will be using to replace the missing handle - a King Arms FAL cocking handle and an ordinary screw.
Despite contacting the three different 'Classic Army Approved' retailers we have in the UK I was unable to get a replacement part (which begs the question what's so special about being an approved dealer).
Luckily for me King Arms does a nice line in FN FAL replicas (the FAL being the rifle that the DSA SA58 is based) and in it's spare part inventory it does list a FN FAL cocking handle. Unaware if this part would be compatible with the Classic Army SA58 I sought out the part - which I located in Canada - as I figured it couldn't be that different.
Anyway, when the part arrived I was both pleasantly surprised and disappointed. The good news was that the King Arms FAL cocking handle was superbly made metal replica, far superior to the plastic CA version. However, the bad news was that it was designed to fit to the King Arms FAL replica in a totally different way to the CA handle. Oooops!
While the CA handle had a hole running through the centre - allowing it to be attached to the cocking slide by means of a ordinary screw - the King Arms handle had no hole, just a screw thread part way into the handle. The King Arms handle obviously screwed onto a screw thread which was already fixed to the cocking slide.

Every cloud has a silver lining though. The first positive note was that the King Arms replica handle was actually properly designed - just like the real FN FAL handle (which does not attach by a screw through the middle). And anyway, the metal handle was defiantly a better accompaniment to the otherwise very well made Classic Army AEG.
In the end the actual mod was pretty simple to work out and complete. All I had to do was cut down the long Classic Army cocking post - into which the original screw fitted - and cut down a normal screw to provide the means of attaching the King Arms handle...
Enter Mr. Dremmel!
 1. First of all I had to cut down the CA cocking post. The King Arms handle - not being hollow all the way through - only needed the post to be a third of the original size. Note that I *carefully* checked before hand just how far the screw thread ran down the post to ensure I had something to fix my screw to!
 2. Having calculated just how much screw thread I needed to fix the King Arms cocking handle to the cut-down Classic Army cocking post I chopped a suitable screw down to the right length.
 3. Next I screwed the screw thread into the cut-down cocking post. I presume this now looks something similar to how the actual King Arms cocking handle post looks. The brown stuff is a small piece of tape I used to ensure I got a level cut while using my Dremmel.
 4. Finally, I screwed the King Arms cocking handle onto my modified post. It may be a bit high, but I can correct that by cutting off just a tiny bit more of the cocking post to allow the handle to fit flush with the cocking slide. I finished off the job by adding a spot of Locktite to both ends of the screw.
In the end I am *very* pleased with my modification. The King Arms handle is of far superior quality to the Classic Army original and feels great to use. Having fixed the handle in place with some Locktite I no longer worry about the darn thing falling off in use either!
Disclaimer: I cannot accept responsibility for any damage done by anyone else who attempts to follow my modification process. If you decide to follow my example you do so at your own risk!
Sem comentários:
Enviar um comentário